One of the most common management tasks on a WSUS Server 2016 is to approve the available updates so that the installation process proceeds to the individual clients.
The approval of updates is an important asset for system administrators as they have the ability to approve updates on a small test portion of the infrastructure and if everything is working properly, then they will approve updates for the rest of the infrastructure. So, problems that may be encountered when installing updates can be addressed more timely and effectively. Well, such problems are a reality.
Typically, updates are accepted manually. The administrator spends time checking the available updates and then approves or rejects the updates that will be deployed to the clients. However, it is possible to automatically approve updates based on the rules you set.
Approve and deploy WSUS updates
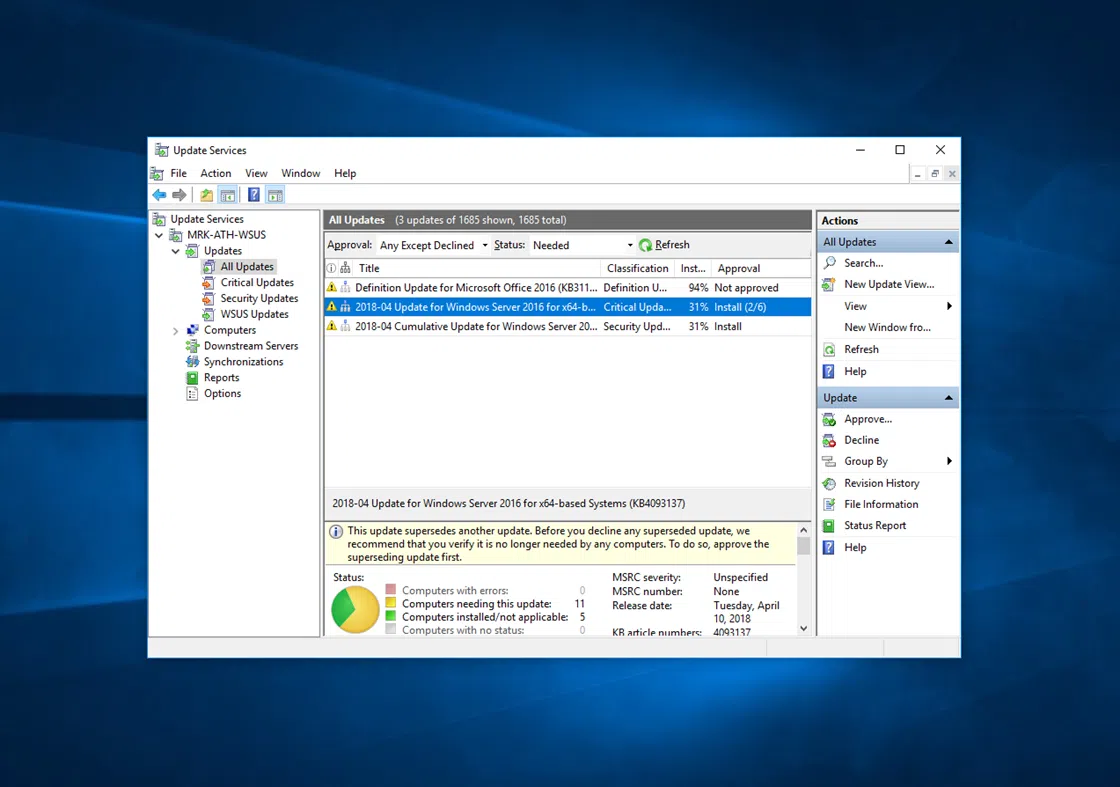
After you open the WSUS Admin Console, click Updates. Here is a summary of the status of the updates. As you will see, the individual sections are separated into All Updates, Critical Updates, Security Updates, and WSUS Updates.
The approval of the updates, so that they are then passed to the clients, is done through these modules. In this case, we will see how to approve an update.
From the All Updates section, right-click an update, and then click Approve.
In the window that will appear, select for which computer groups the update should be approved by clicking Approve for Install. By default, All Computers is enabled, but you can approve the update for each group individually. This depends entirely on your own practices.
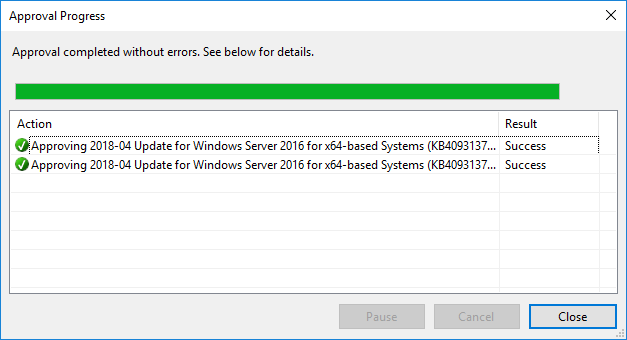
Then, the approval progress window appears with the corresponding success message. Click the Close button to close the window.
This is a typical case of approving updates manually so they can start deploying on WSUS clients.
In some cases, if you do not want to approve the updates manually, you can set auto-approval rules according to the settings you configure.
Configure auto-approval rules in WSUS 2016
In the WSUS Administration Console window, go to the Options category and click on Automatic Approvals.
In the window that appears, on the Update Rules tab, there is already a default rule named Default Automatic Approval Rule, which is disabled.
To create a new rule, click New Rule.
Here, the rule is configured in three steps. First, you select one or more of the properties of the updates, then the action that will take place (for example, approval) and finally you specify the name of the rule.
By clicking on each of the links with the blue color, its corresponding properties appear.
For example, you can enable automatic approval for all the security updates that will be available from now on for the computer groups you chose, as shown in the figure below.
Finally, on the Advanced tab you can set whether updates to the WSUS Server itself will be automatically approved and how update revisions will be approved. By default, these settings are turned on and you will want to keep them that way.


