Changing a computer name to either a Windows Server or a Windows client is one of the first steps you will need after the installation of the operating system. Microsoft has chosen to automatically give a computer name consisting of a sequence of letters and numbers that for most people makes no sense to the role of the server or client.
In today’s article, you will see how to change the computer name in Windows Server 2016 by using the classic method through the GUI as well as the most ‘fast’ methods through the command line and of course Powershell.
Rename Windows Server 2016 from the GUI
Right-click the Start icon, and then click System.

In the new window, click Change settings, next to the computer name, as shown in the figure below.

Then click the Change button.

In the Computer name field, type the new computer name you want your server to have and click OK.
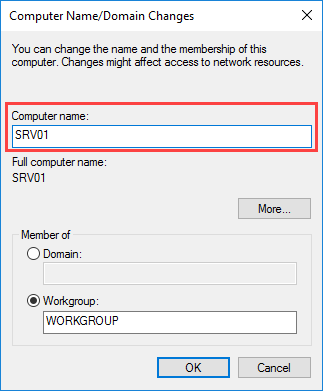
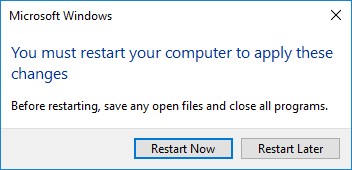
To complete the renaming of the server, you will need to restart it. When you close the System properties window, a new window will appear to give you this option.
Rename Windows Server 2016 from command prompt
First, you will need to know the name of the computer you are about to rename. Open the command line with Administrator rights and type the following command to see the current computer name.
hostname |

Next, we will use the netdom command to change the name. The command will look like this.
netdom renamecomputer <current computer name> /newname:<new computer name> /reboot <seconds> |
That is, to change the name from WIN-IMLI1SK9BV9 to SRV01 we will use the following command.
netdom renamecomputer WIN-IMLI1SK9BV9 /newname:SRV01 /reboot 0 |

Confirm your action by pressing Y (for Yes) and Enter.
Rename Windows Server 2016 from Powershell
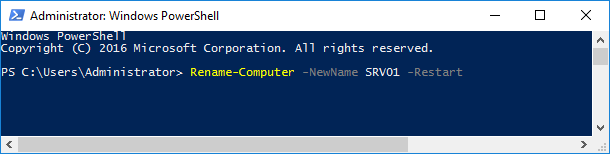
Open Powershell with Administrator privileges. Here, we will use the Rename-Computer cmdlet that will have the following format.
Rename-Computer -NewName <new computer name> -Restart |
That is, in our case, it will be something like that.
Rename-Computer -NewName SRV01 -Restart |
Rename Windows Server 2016 from SConfig tool
Open Powershell with Administrator privileges and type the sconfig command to enter the system configuration environment through Powershell.
sconfig |
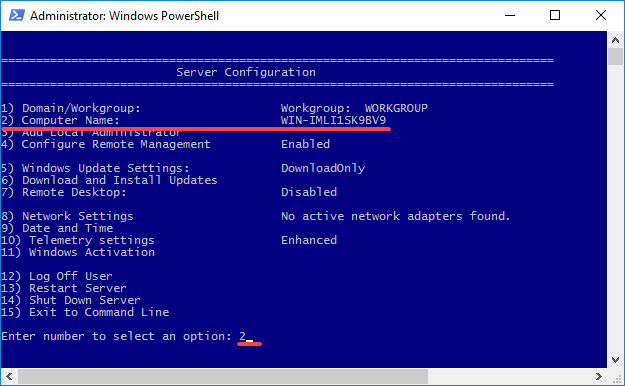
Here, press 2 to change the computer name.
After you type the new computer name you will be prompted to restart it to complete the process.


Thanks great and simple article