In this article, we will only look at the process of installing the DNS role rather than further configuring it. Also, before proceeding with the steps below, it is a good idea to assign a static IP address on your server.
Install the DNS role using the GUI
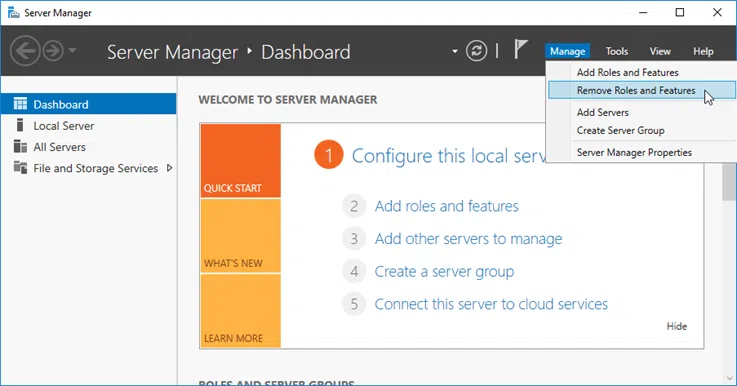
Open Server Manager and from the Manage menu, click Add Roles and Features.
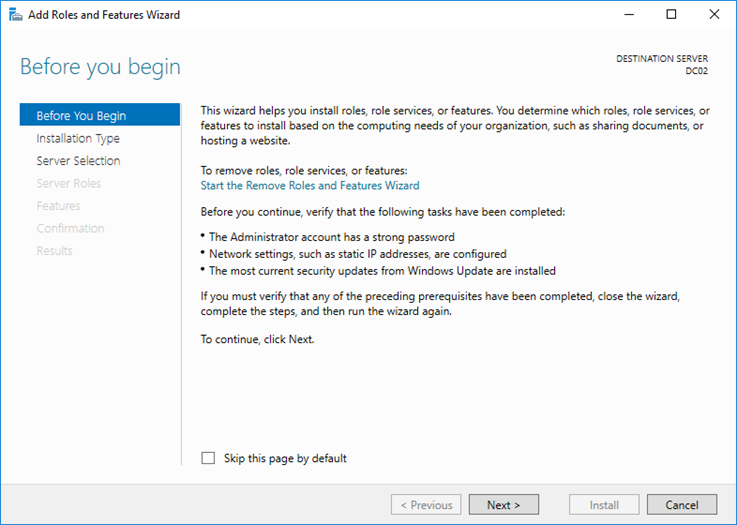
In the new window that opens also in the Before You Begin section, click Next to continue.
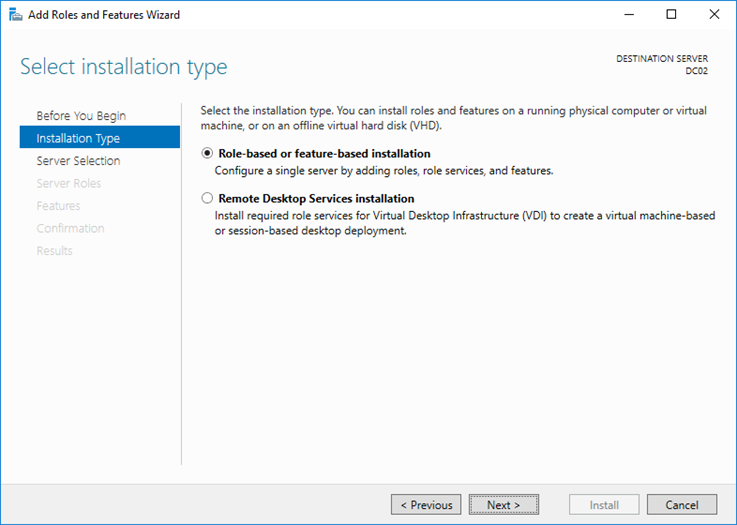
In the Installation Type section, select Role-based or feature-based installation and click Next to continue.
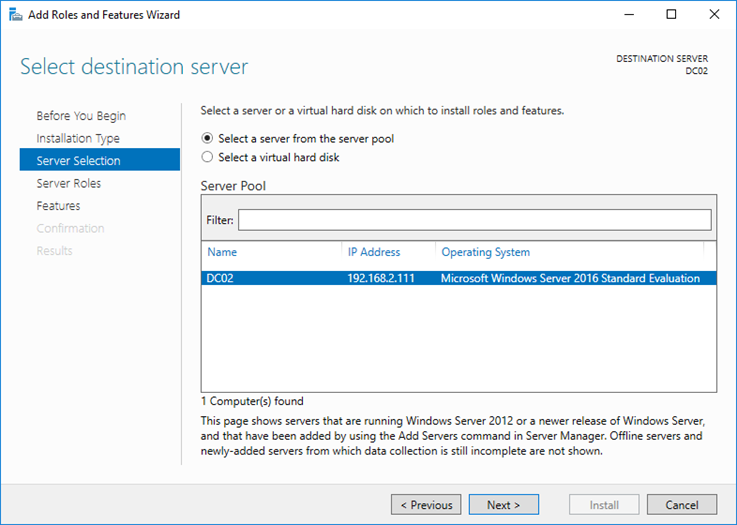
In the Server Selection section, make sure you select the server that you want to install the role and click Next to continue.
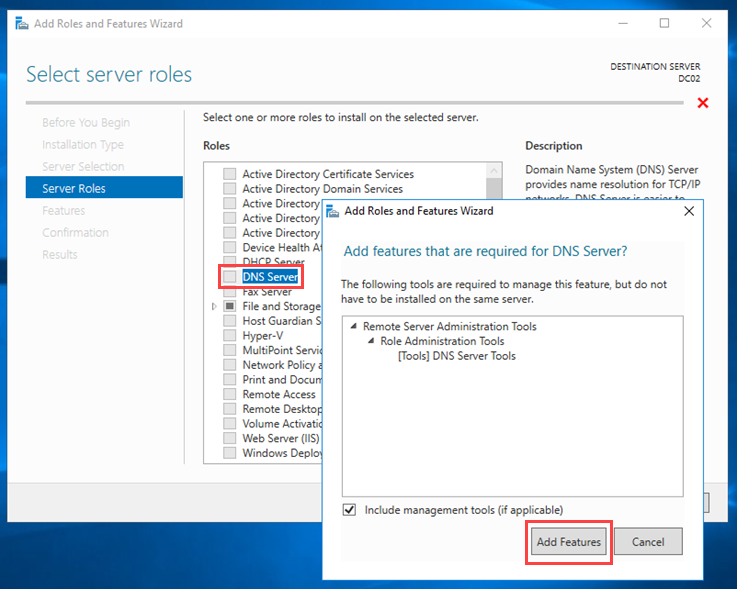
In the Server Roles section, click on the DNS Server option and then in the window that opens click on the Add Features button to add the prerequisites. Click Next to continue.
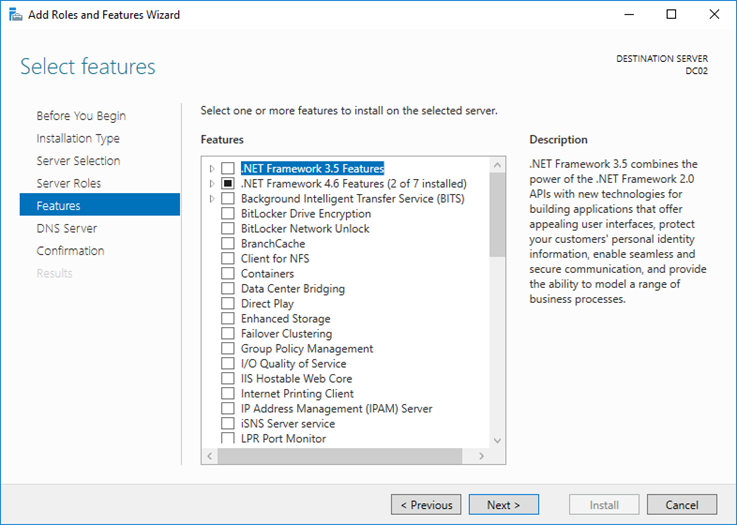
In the Features section, you do not have to choose something, just click Next to continue.
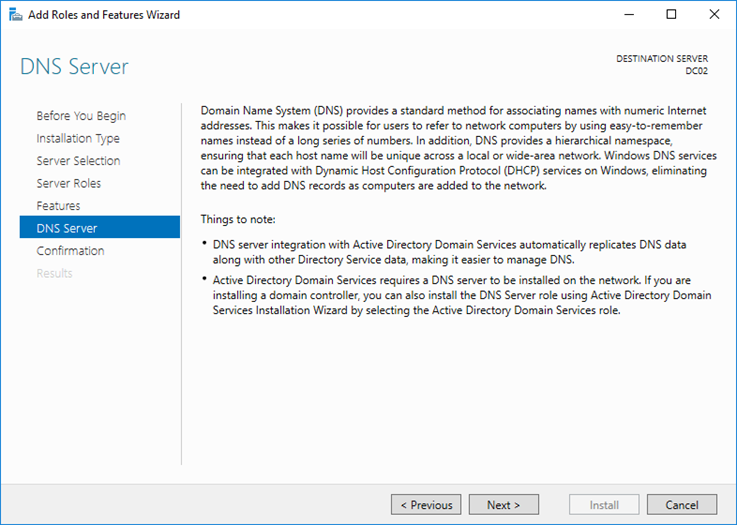
In the DNS Server section, some basic information about role function in Windows Server 2016 along with Active Directory is displayed. Click Next to continue.
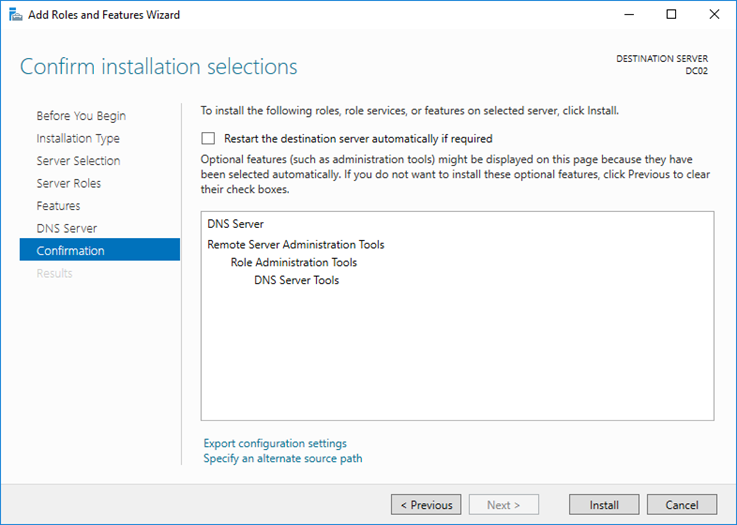
Finally, in the Confirmation section, click on the Install button to begin the process of installing the DNS role in Windows Server 2016. You can enable Restart the destination server automatically if required, but it’s not necessary if you installing only the DNS Server role.
Install the role of DNS using PowerShell
Of course, installing the DNS Server role on Windows Server 2016 using PowerShell does not require all the above steps. In essence, as you will see below, the whole process is very easy with a ‘one-liner’ cmdlet.
So, to install the role DNS, use the following command in a PowerShell window with administrator privileges.
Install-WindowsFeature DNS -IncludeManagementTools |
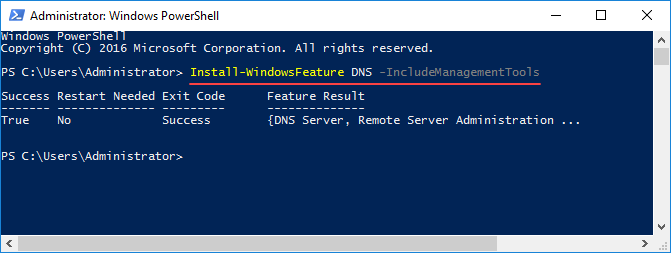
That’s it!


