I don’t think that we should analyze what a DHCP does in your infrastructure. Even a junior administrator knows, even in theory, how it works. That is why we will go straight into practice.
In the steps below, you will see how to install the DHCP role in Windows Server 2016 using both the Server Manager GUI and PowerShell. The installation will take place on a Windows Server 2016 that is already joined in the AD Domain and in this case, is also a Domain Controller and DNS. This is the most common practice in small businesses.
Before you proceed, you’ll need to have your server configured with a static IP address as well as having planned the subnets, scopes, and exclusions in the next step after installing the role.
Install the DHCP role using Server Manager
Open Server Manager, click Manage and then Add Roles and Features.

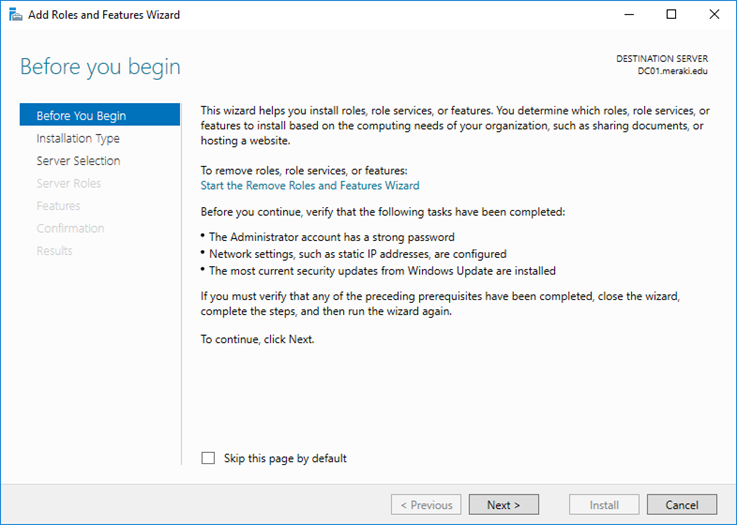
In the Before You Begin section, click Next to continue.
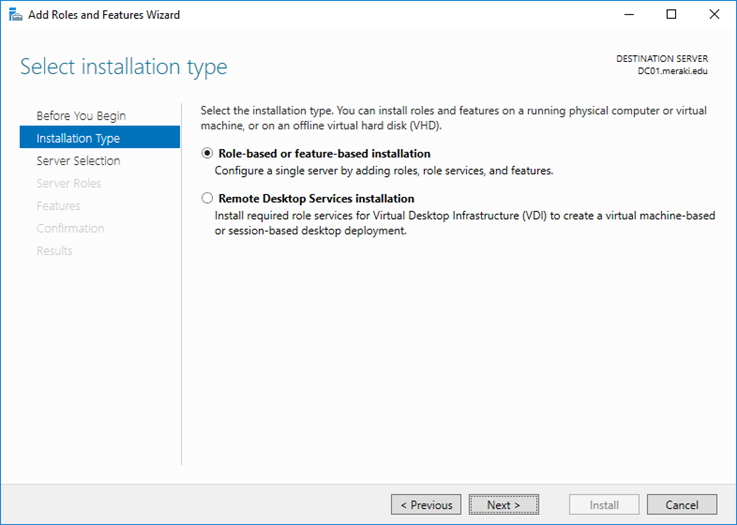
In the Installation Type section, select Role-based or feature-based installation and click Next to continue.
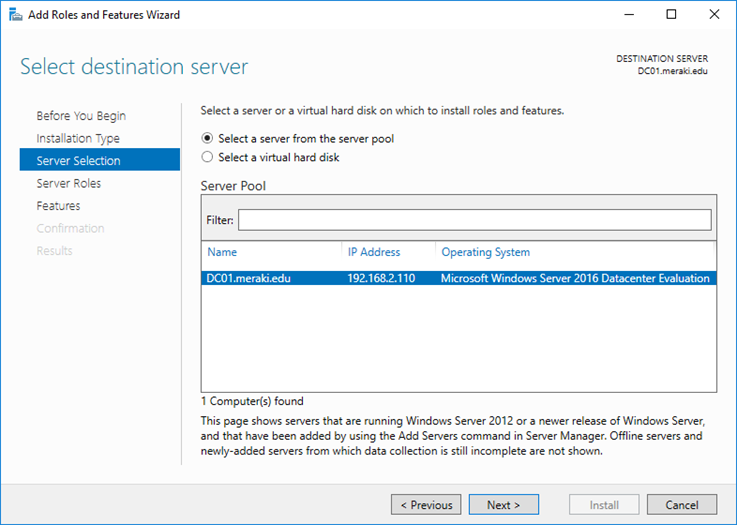
In the Server Selection section, select your server and click Next to continue.
In the Server Roles section, enable the DHCP Server role and in the window that will appear immediately afterward, click the Add Features button, and then click Next to continue.

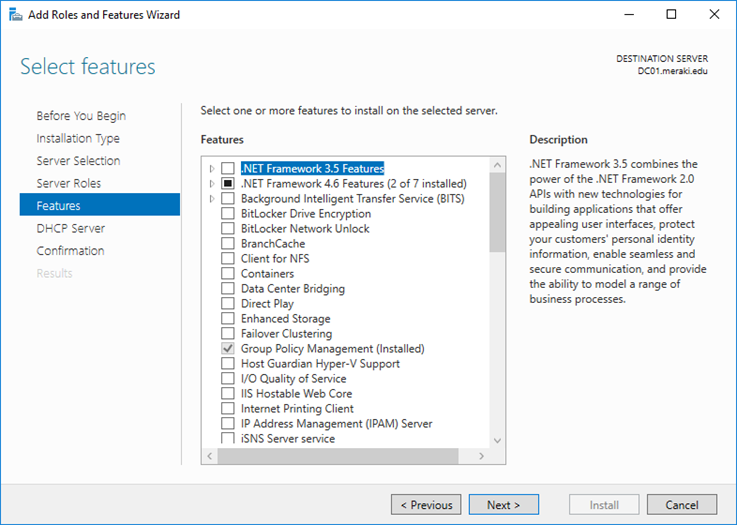
In the Features section, you do not have to choose something, just click Next to continue.
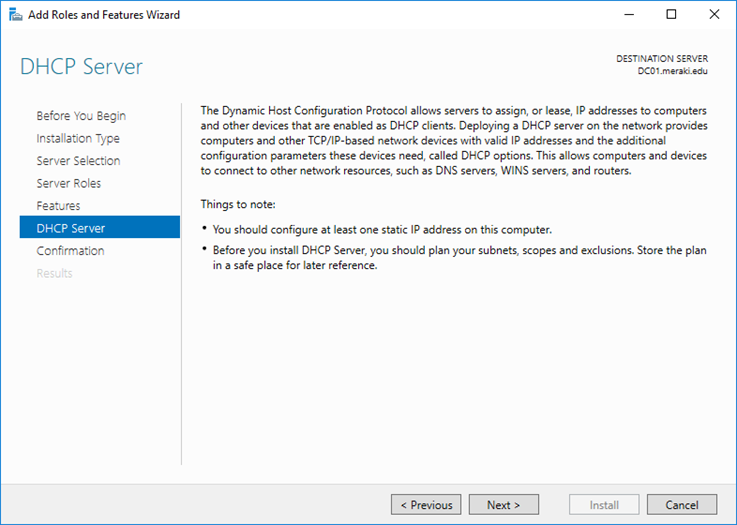
In the DHCP Server section, take a look at the information proposed by Microsoft and click Next to continue.
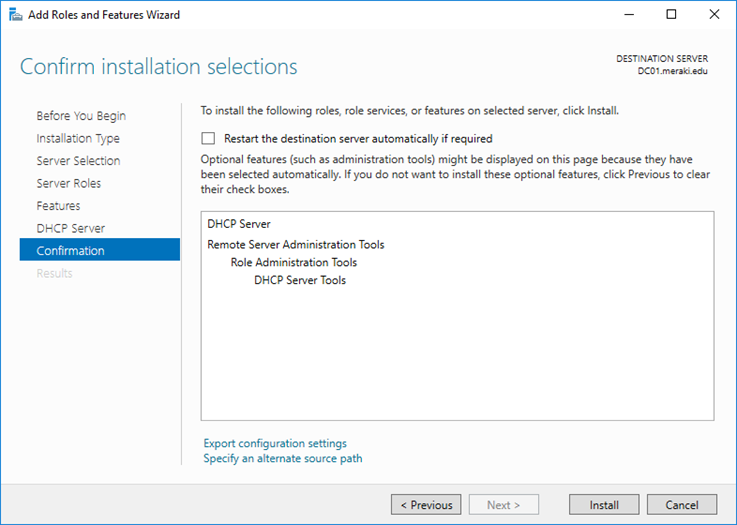
In the Confirmation section, click the Install button to install the DHCP role. Installation does not require a restart of the server.
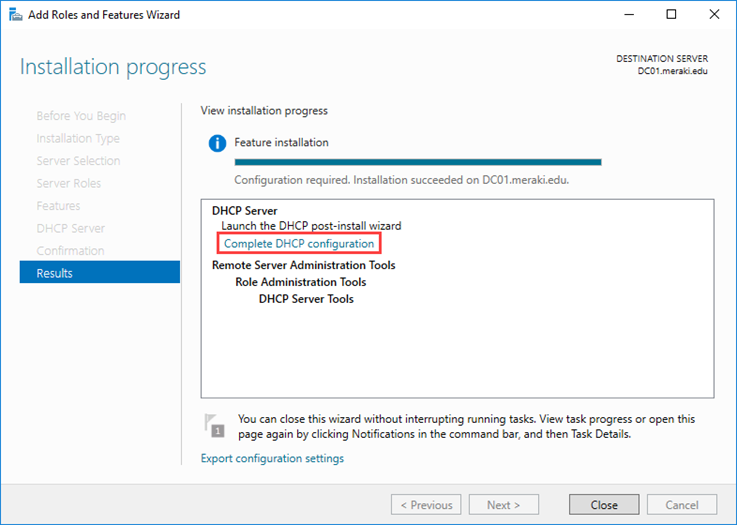
Finally, in the Results section, click Close to close the window.
Complete the installation of the DHCP role
In the last step of the wizard we saw above, there was a Complete DHCP configuration option. Clicking on this it opens the DHCP Post-Install configuration wizard window that enables you to complete the DHCP role installation with two basic settings, setting up the corresponding accounts (DHCP Administrators and DHCP Users) and authorizing the DHCP server.
Alternatively, if you have closed the wizard window, the same option is suggested through the Server Manager window.

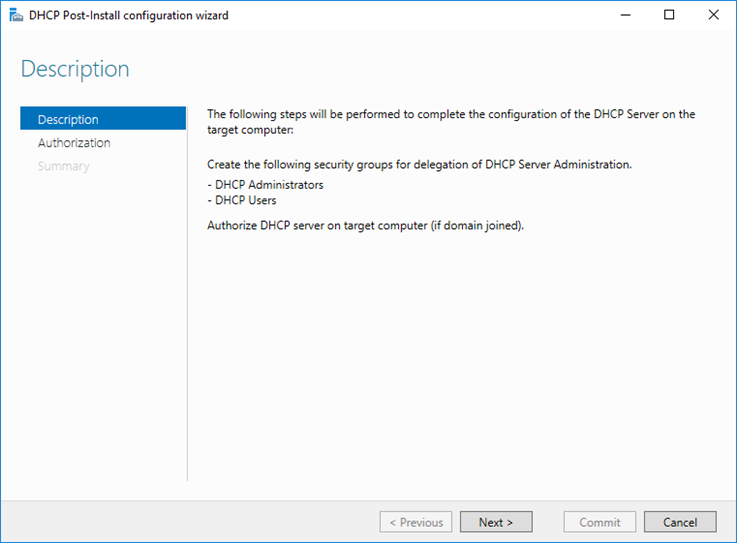
Here, in the Description section, you will see what these basic settings are. Click Next to continue.
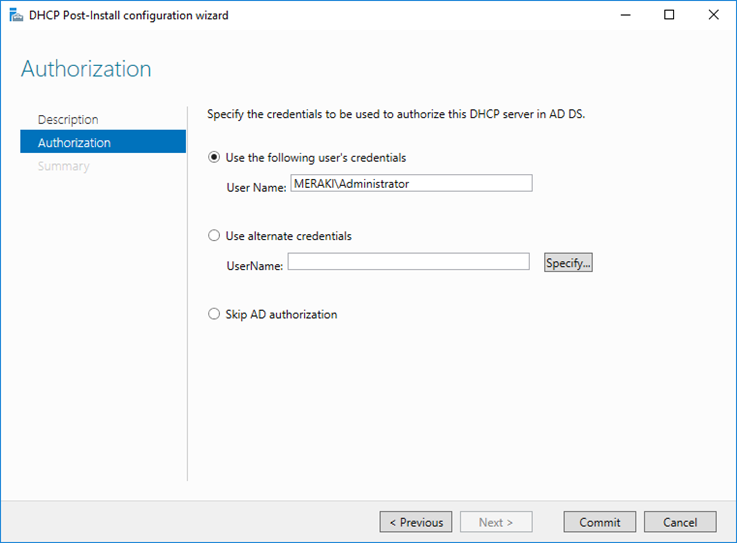
Under Authorization, select a user account that has the ability to authorize the DHCP server in Active Directory (for example, a Domain Administrator or delegated admin) and press Commit to continue.
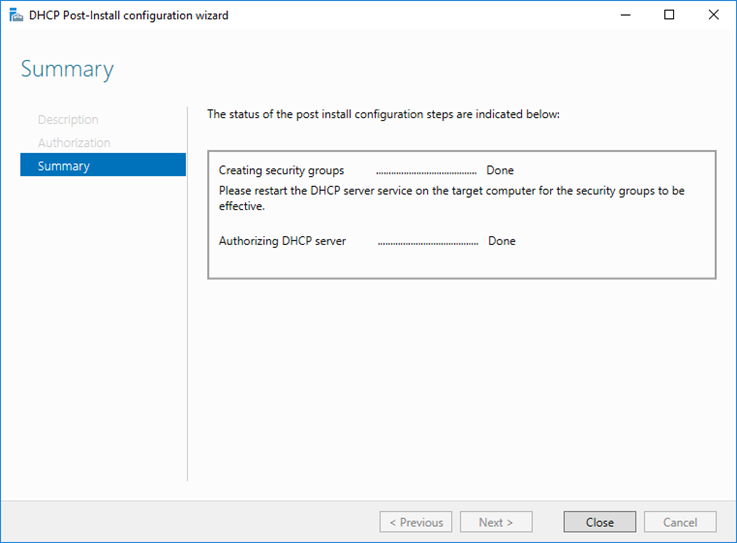
Finally, in the Summary section, you will see that both the creation of security groups and the DHCP server authorization have been completed successfully. Click the Close button to close the window.
Install the DHCP role using PowerShell
Open PowerShell with Administrator privileges and type the following command to install the DHCP role.
Install-WindowsFeature -Name DHCP -IncludeManagementTools |
In addition to installing, you will need to authorize the DHCP server in the AD Domain as previously done with Server Manager. To do this, type the following PowerShell command by changing the values to match those of your infrastructure.
Add-DhcpServerInDC -DnsName "dc03.meraki.edu" -IPAddress 192.168.2.120 |

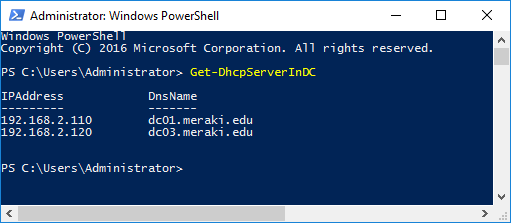
Also, using the following command you can easily view the authorized DHCP servers.
Get-DhcpServerInDC |
More about the Add-DhcpServerInDC cmdlet and the parameters you can declare.
Note: The DHCP Server on a Domain Controller is automatically authorized.
Now, the next step after installing the DHCP role on Windows Server 2016 is to create a new DHCP Scope through the GUI and PowerShell.


