You can install Hyper-V by choosing one of the following options:
- Install the Hyper-V role on Windows Server 2016 with GUI
- Install the Hyper-V role on Windows Server 2016 Core
- Install the free Hyper-V Server 2016 as a standalone hypervisor
In this article we will see the third option, that is, we will proceed to install Hyper-V as a standalone hypervisor. In essence, this is a ‘limited’ version of Windows Server 2016 Core with one major difference, especially if you are planning to use a Hyper-V host in the home lab. It’s free! Beyond that, you should be aware of the differences between the different methods you can use Hyper-V in your own environment.
Before installing Hyper-V
Although I mention them for typical reasons, it is not self-evident for everyone.
- Check the system requirements and instructions given by Microsoft.
- Download the installation ISO of the Hyper-V Server 2016 from the Evaluation Center.
- If you are going to install the hypervisor on a physical machine then you have to burn it to a DVD or a USB flash drive. Personally, I prefer to do it with Rufus.
- You must select the DVD or USB as the boot device for the operating system in the BIOS/UEFI.
Install Hyper-V Server 2016 as a Standalone Hypervisor
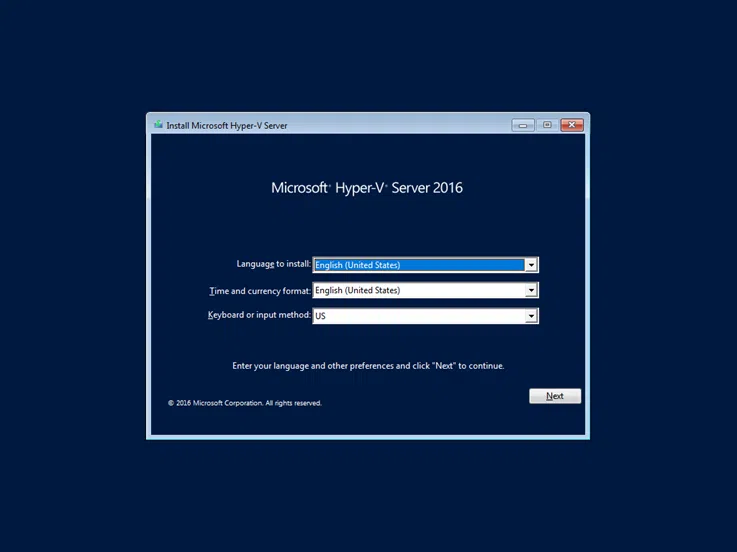
After pressing a key to launch the installation wizard from the DVD / USB, you will need to select the language, time format, and keyboard on the first screen.
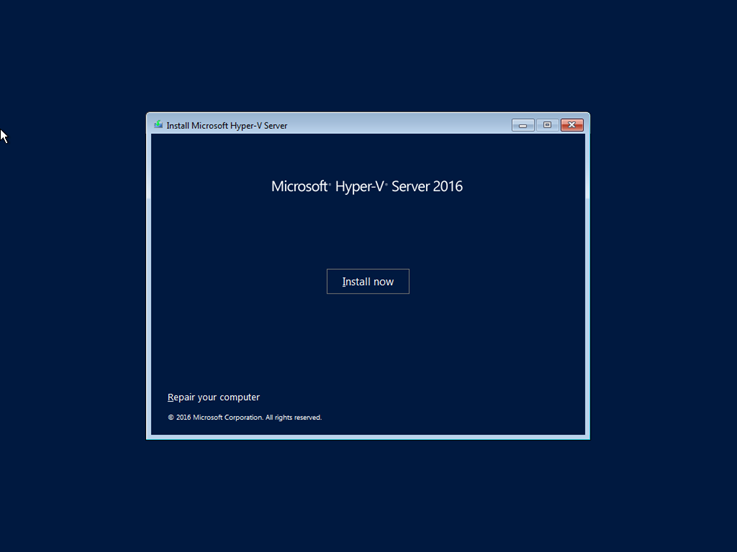
Next, click the Install now button to continue the process.
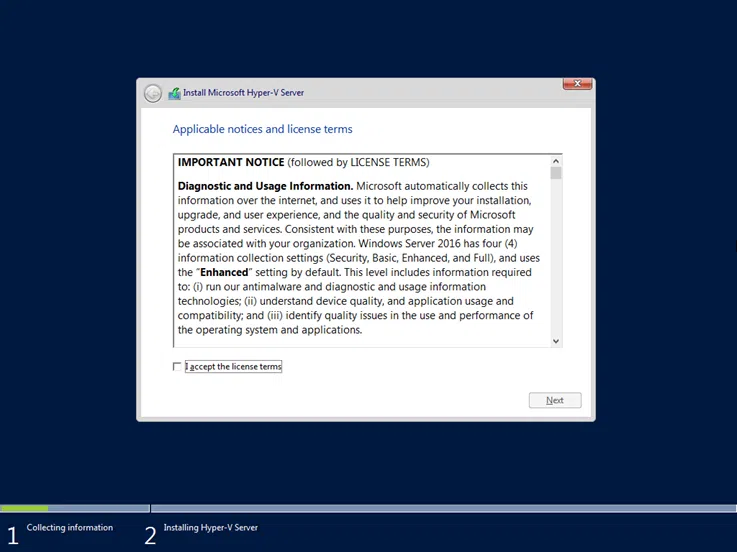
Accept the terms of use by selecting the I accept the license terms option.
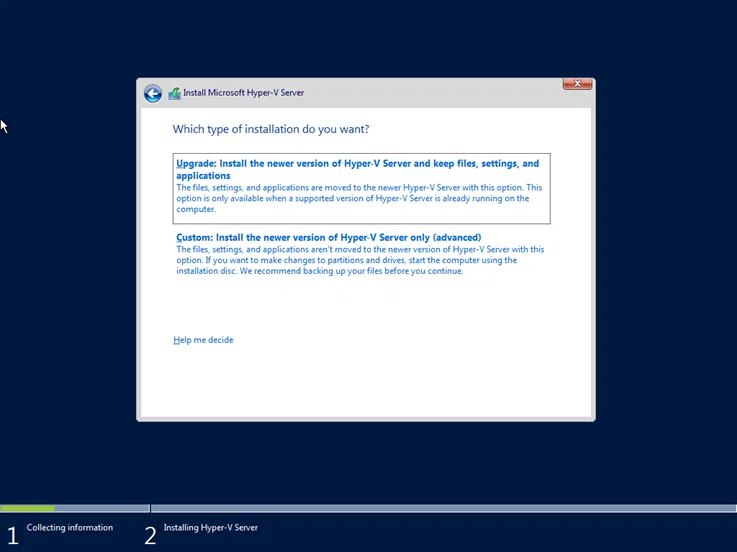
Since it is a fresh installation, click Custom: Install the newer version of Hyper-V only (advanced).
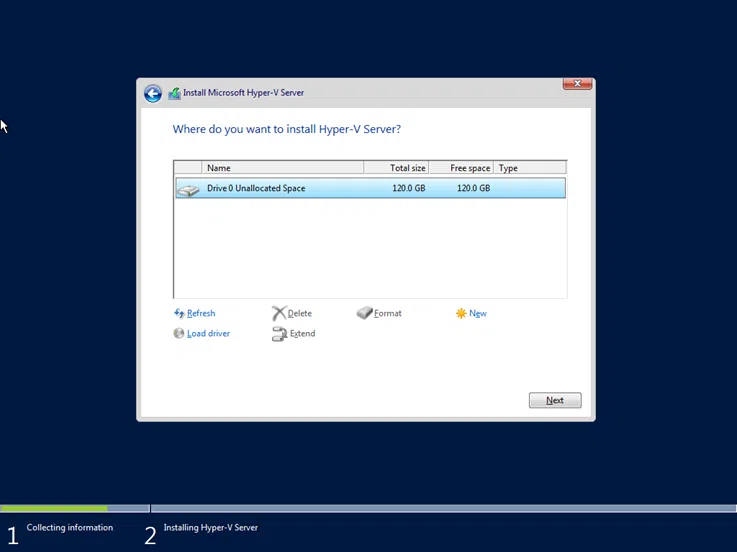
You will then need to select which disk will install Hyper-V. Do not forget that all of the data that previously existed will be deleted from the disk you select. By clicking New, you can create additional partitions on the disk, and by clicking on Load driver you can dynamically load the drivers for your hard drive if necessary.
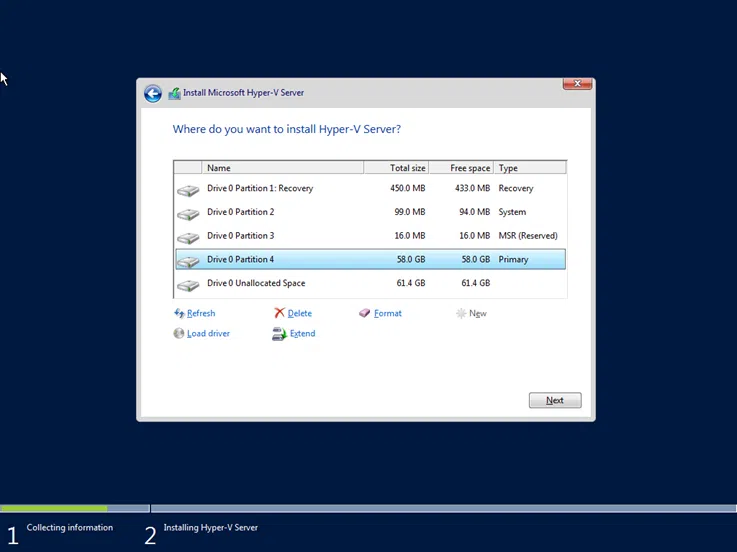
If you split the disk with a partition, you will visually see that all the necessary partitions needed to install the Hyper-V Server 2016 are automatically created.
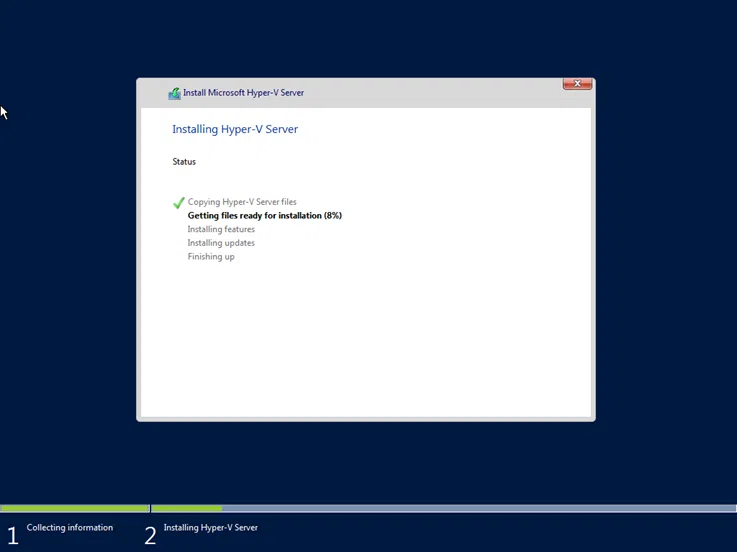
Immediately afterward, the installation is in progress. You will have to wait a few minutes.
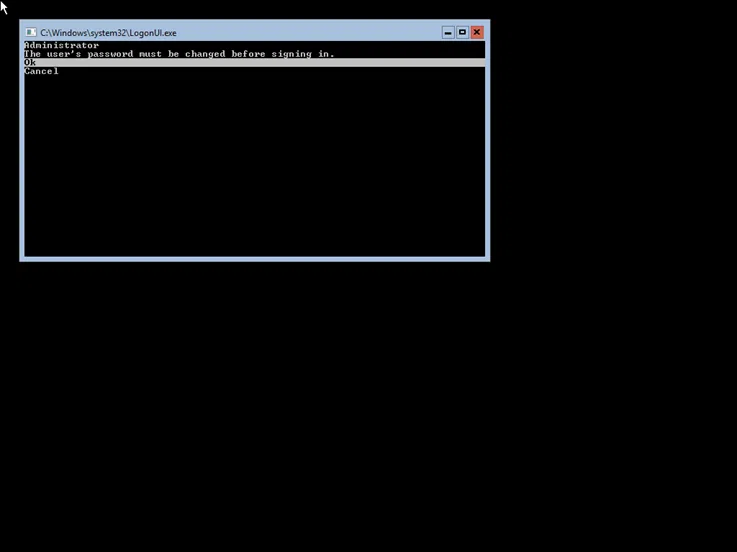
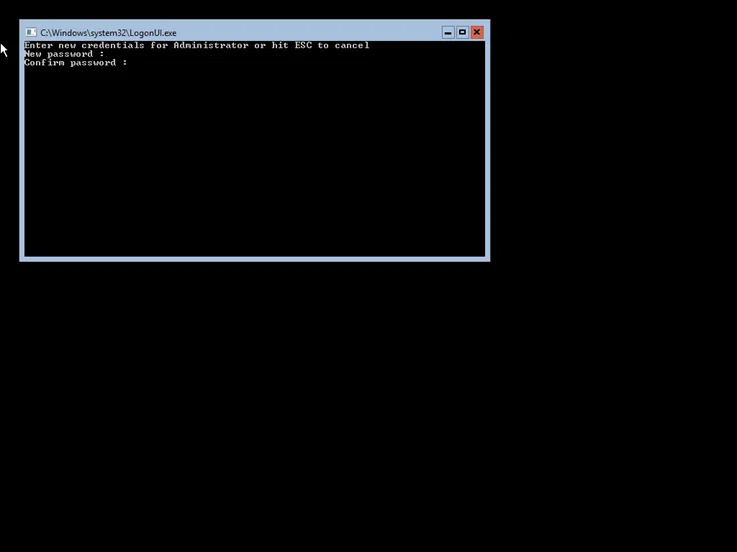
After rebooting, you will be prompted to enter the Hyper-V Server Administrator account password.
Type twice the password and press Enter. Do not forget that the password you choose should match the password complexity requirements set by Microsoft.
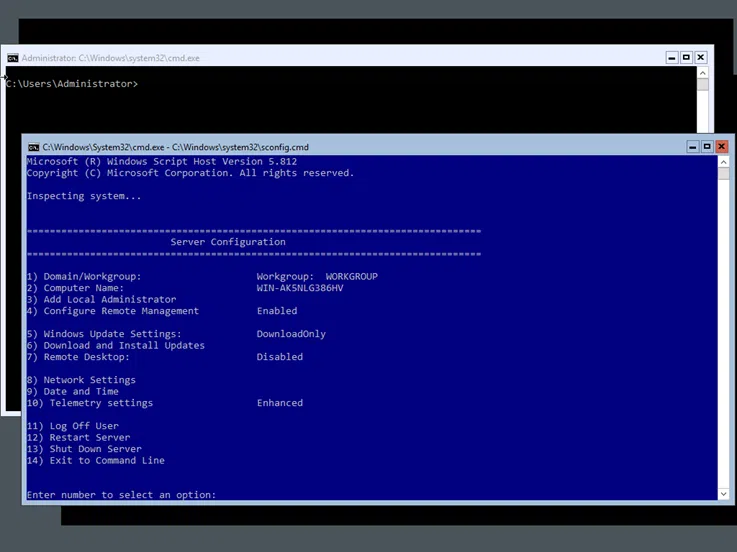
Finally, you will log on to the Hyper-V Server 2016 console. As you will see, the command prompt windows and the SConfig tool are already open by which you can change some basic server settings such as name, settings IP, domain linking, downloading updates,
That’s it!


Im kinda new with Hyper-V as standalone my question is how I can reacht the Hyper-V console (remote) to start making VM’s?
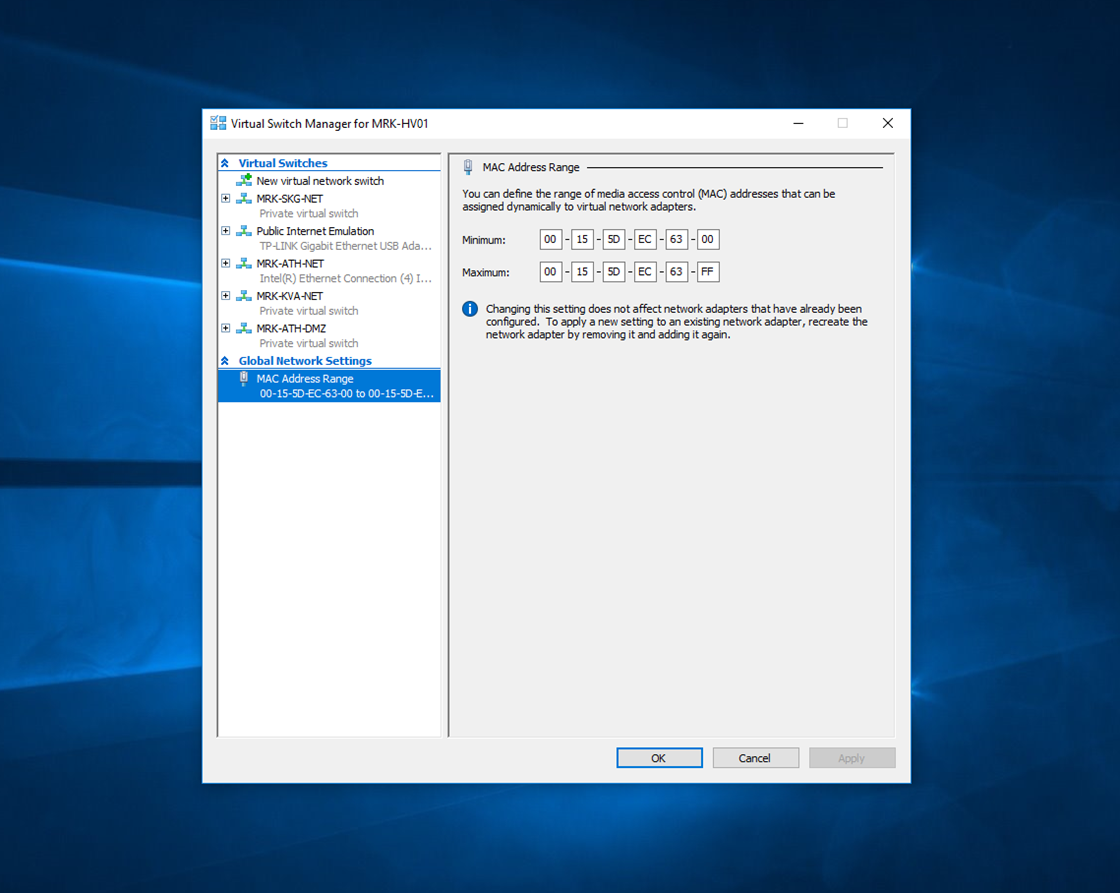
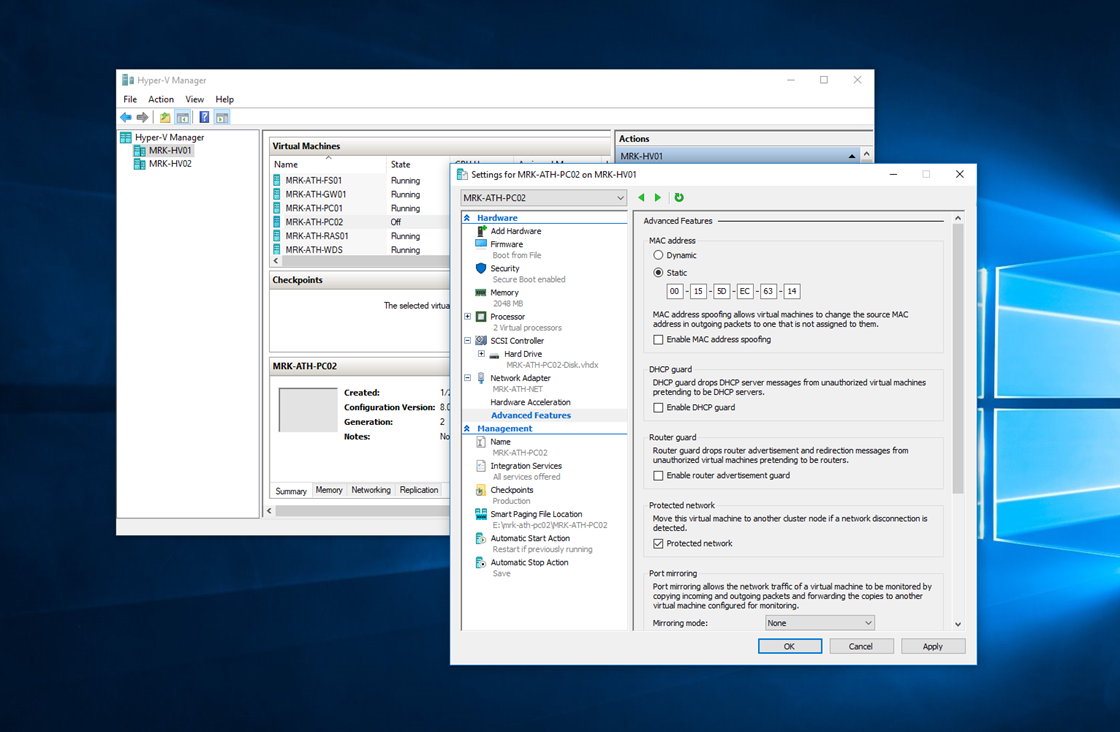
You can install the Hyper-V Management Console on your Windows 10 machine and connect it to the Hyper-V Server.
Ok cool. Ill have a go at it then 🙂
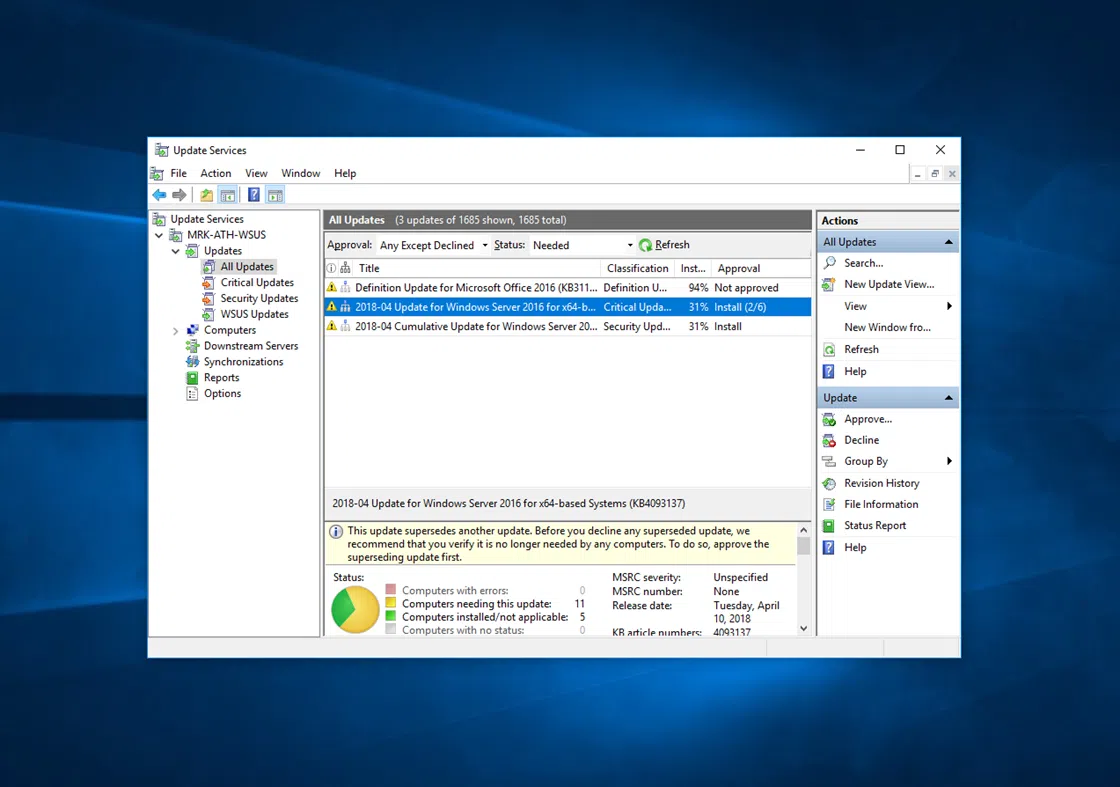
Hi, WSUS is a role of Windows Server so you will need to set up a Windows Server VM which can run on a Hyper-V 2016 Server.