Once you have completed the installation of VMware Workstation on your Windows PC, the next step is to configure some of the basic settings of the application.
Settings such as the default installation path for new VMs, automatic installation of VMware Tools, default screen settings, etc., allow you to save trouble and time from the first moment.
Of course, the following settings can be changed at any time, especially as you gain experience and know exactly how you want the VMware Workstation to work for you. Personally, when I set up a new Virtual Lab with VMware Workstation, these are the first step before I start creating virtual machines.
In this article, we will not get into too many details but when you get to the end you will now know pretty much most of the basic VMware Workstation settings.
Note: Many of the settings are global, that is, they apply to all VMs, or special that means they can be changed per virtual machine according to your preferences.
Basic settings on VMware Workstation 12
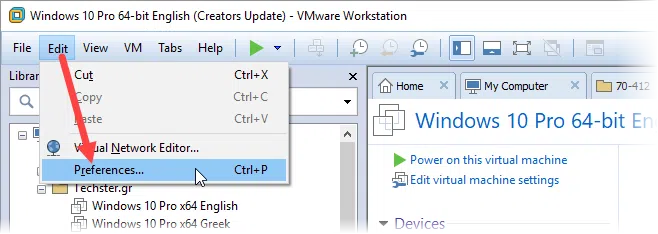
To open the settings window, click on the Preferences option of the Edit menu or use the Ctrl + P shortcut.
Workspace
In the Workspace section, I have chosen to change the default location for virtual machines of the virtual machines I create as I use a different hard disk from C: \ which is an SSD one and does not have a large capacity.
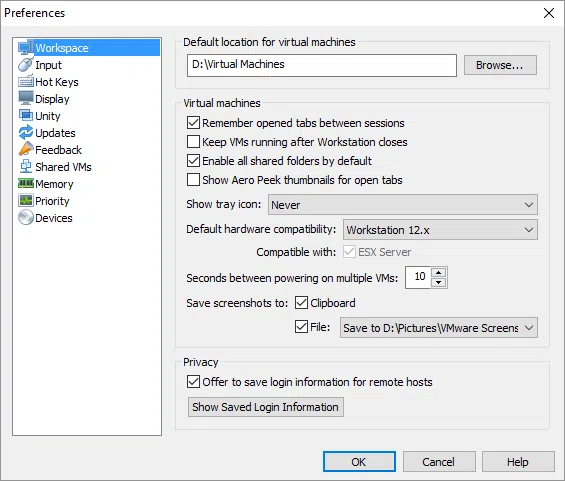
If you want VMs to continue running even if you close the VMware Workstation window, enable Keep VMs running after Workstation closes, a similar behavior already in Hyper-V. In my case, I keep it unchecked.
Also important is hardware compatibility if you do not intend to experiment with legacy VMs, leave the Default hardware compatibility setting in Workstation 12.x.
Finally, if you plan to keep some screenshots of your VMs, select the Save screenshots option for either the Clipboard or a dedicated folder you choose.
Input
In the Input section, you can choose how your computer keyboard and mouse interact between host and guest systems.
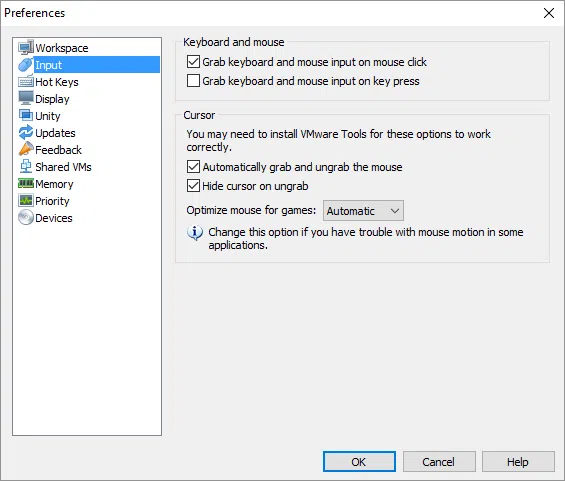
For example, turning on Grab keyboard and mouse input on mouse click means that in order to access a guest and keyboard on the guest VM you will first have to click into the guest environment. This is quite convenient so as not to “lose” the focus of the mouse as you switch the different environments.
Hot Keys
Here you can select the combination of the keys you will need to use to “free” guest VM control and return to the host. That is, if you use a guest VM and find that by moving the mouse outside the VM area, the mouse does not follow, then you need to free it using the corresponding Hot Key. The default setting is Ctrl + Alt, which I use in my own case.
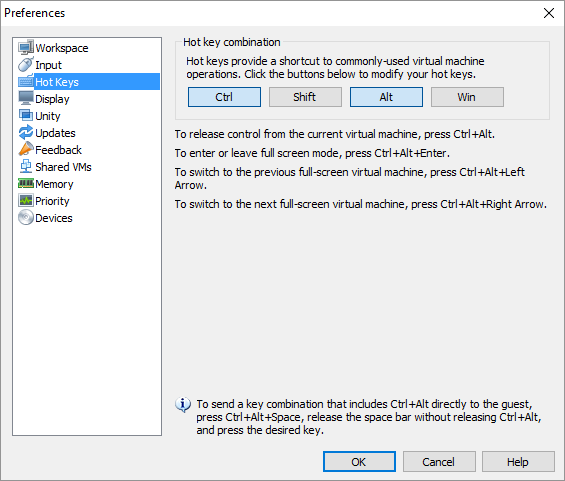
Also, using the Ctrl + Alt + Enter key combination, you can switch guest VM between full-screen mode.
Display
In the Display section, you can establish how the screen resolution of guest VMs will change compared to the host. Whether this will vary depending on the Workstation window, or remain stable, these settings can be changed at any time and are “personal” as everyone has their own preferences.
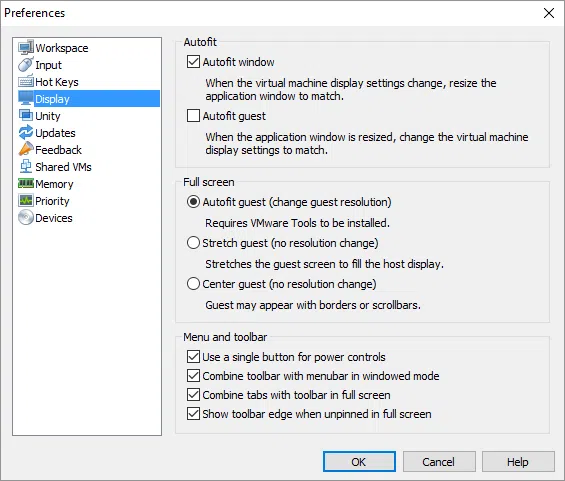
The picture shows my own settings, I do not think we need to explain anything more here, it’s easy to understand how it can fit them into its own virtual lab.
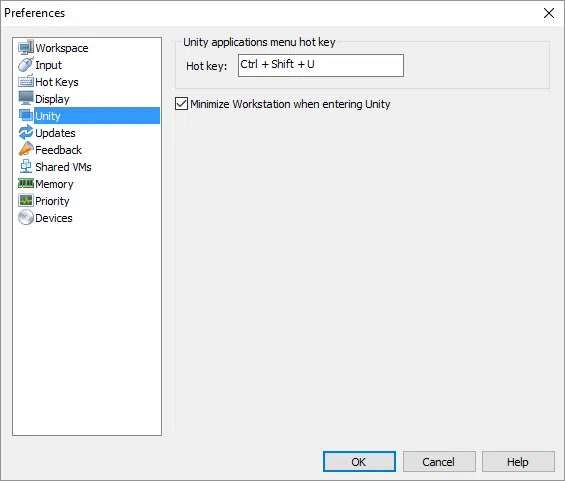
Unity
Unity mode enables you to “marry” the host and guest VM, that is, applications running on guest VM to appear as host applications. In this section, you can select the hot key to enter unity mode. More information about Unity can be found here.
Updates
In the Update section, you can set up control for both VMware Workstation and VMware Tools updates. Be sure to keep both Workstation and VMware Tools up to date, as most of the time they contain fixes that make life easier for your virtual lab.
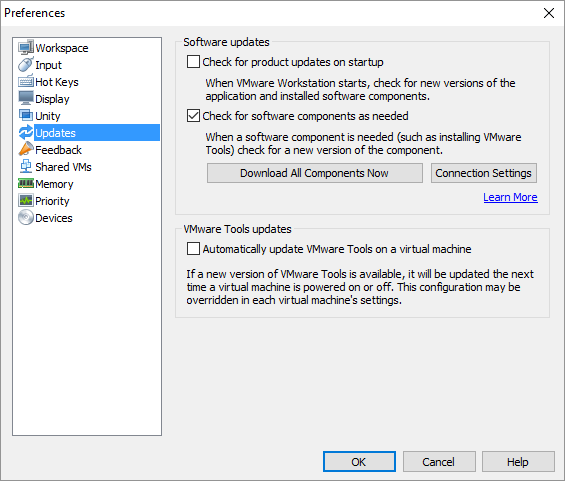
For the Automatically update VMware Tools on a virtual machine option, we will discuss more in a later article.
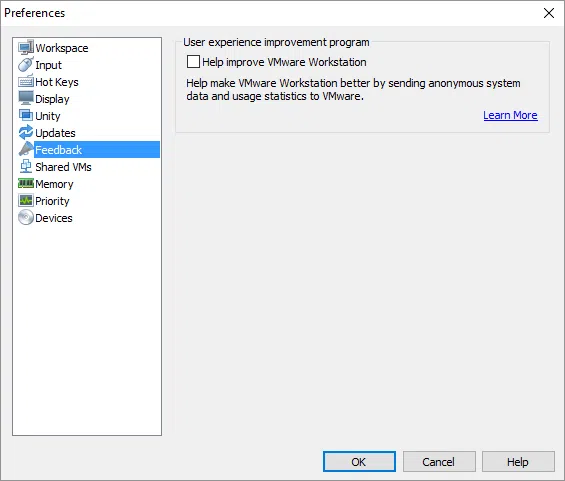
Feedback
I think it’s quite obvious its operation, enable the option (if you want to) help improve VMware Workstation to send anonymous information about using VMware Workstation in your lab.
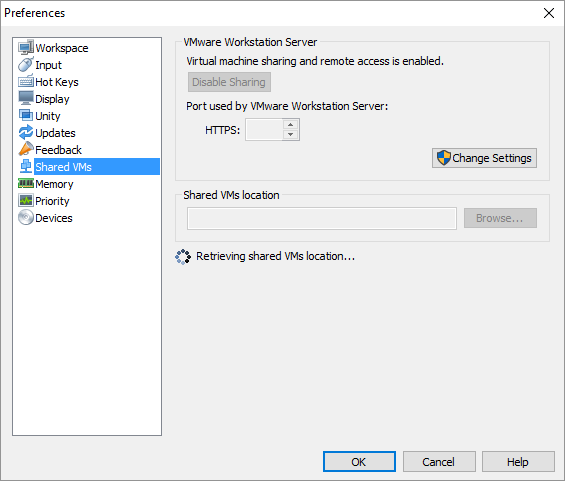
Shared VMs
In the Shared VMs section, you can set the location for your shared VMs as well as the door you will use. We won’t get into any further details in this article because we will not use it at this time. You can learn more about Shared VMs here.
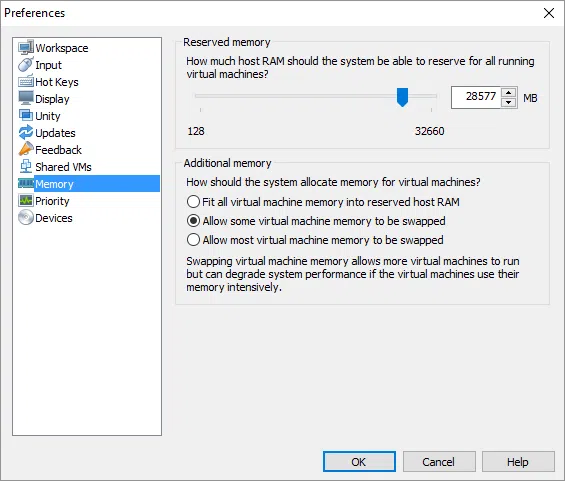
Memory
In the Memory section, you can set the total RAM of the host that your lab virtual machines can use. Typically, the recommended value is the safest choice based on the size of your computer’s RAM. If your available RAM is not enough, it would be preferable to add another RAM module rather than increase the value in this setting.
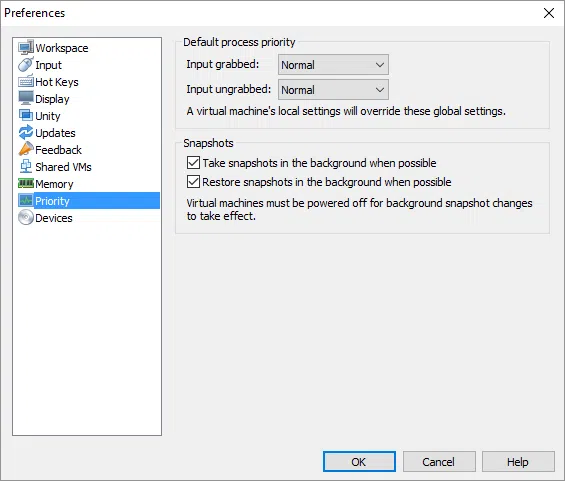
Priority
In the Priority section, you can set the priority of capturing and restoring a snapshot, whether it will be done in the background with low priority or not. In most cases, leave it in the default setting.
Devices
In Devices, you can set whether or not to enable autorun on removable drives automatically on the host as it directly affects the operation of VMs. You can also enable the use of virtual printers that will be discussed in more detail in a later article.

So these were the general settings of VMware Workstation that you should be configuring them at first as you create your virtual lab. Of course, you’ll see that over time some of the settings may change to better serve you what you want to achieve.


