The steps below were done on a Windows Server 2016 installation, but the process is the same for all recent Windows and Windows Server versions.
Install VMware Tools on Windows and Windows Server VMs
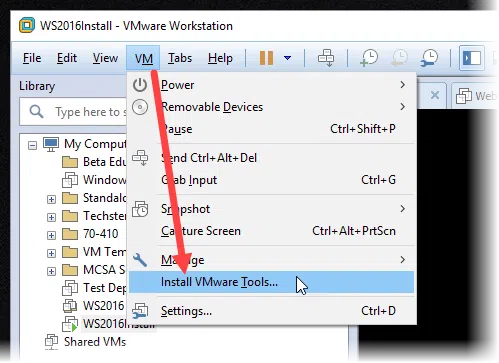
After installing the operating system and logging in with a Windows Administrator account, open the VM menu and click Install VMware Tools.
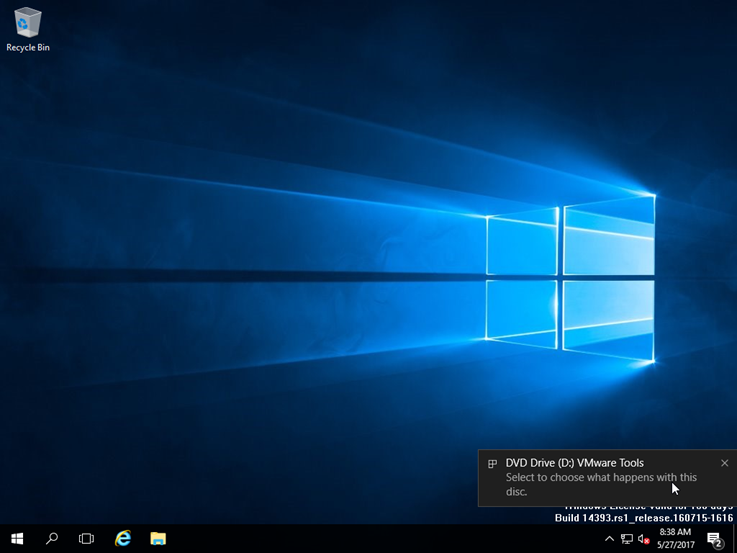
You will then see that the virtual DVD of VMware Tools has been loaded into the VM’s DVD drive. Tap on the message that will appear to continue. Alternatively, if the message is gone, open File Explorer, enter the contents of the DVD, and run Setup.exe.
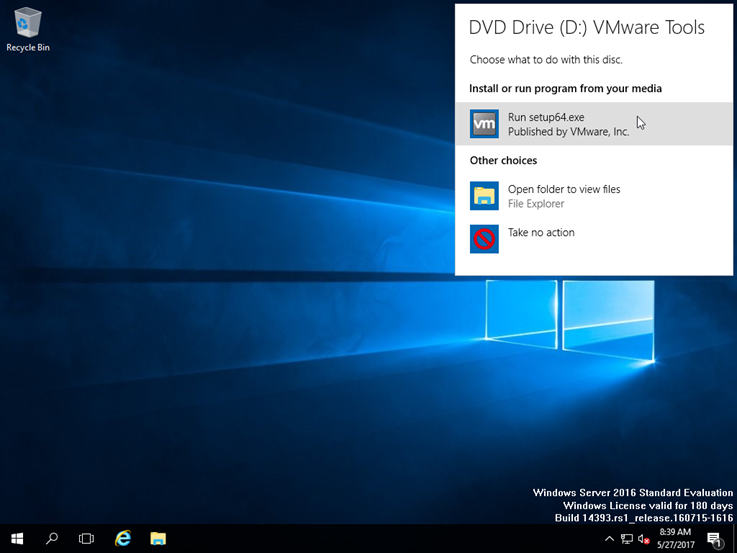
Click Run setup64.exe to start the process.
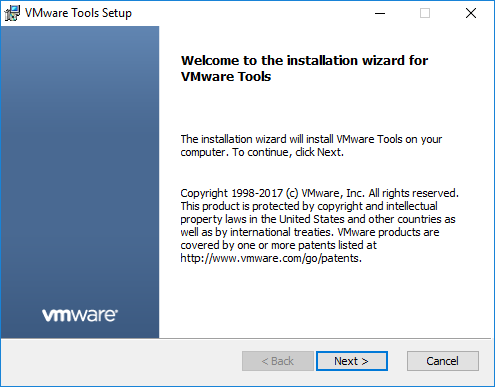
Click Next to continue.
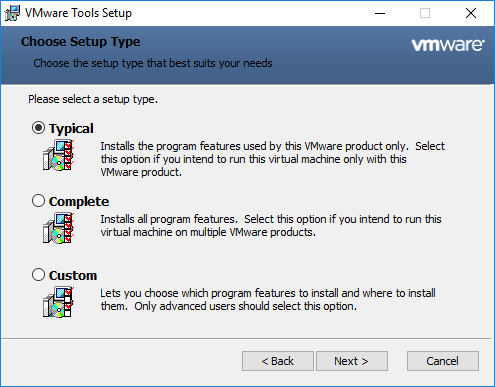
In a typical VM installation, select Typical and then Next to continue. For more advanced customization, select Complete or Custom.
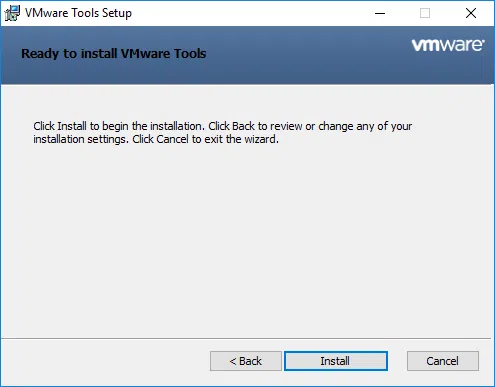
Click the Install button to continue.
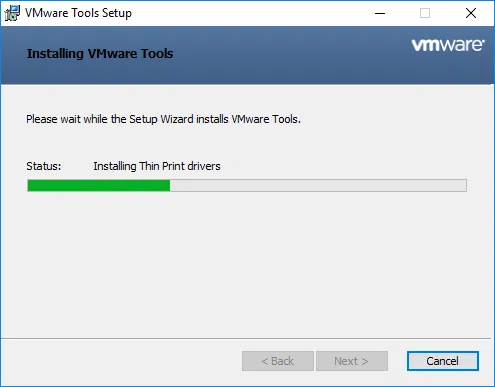
The VMware Tools installation process is in progress. Wait for it to finish.
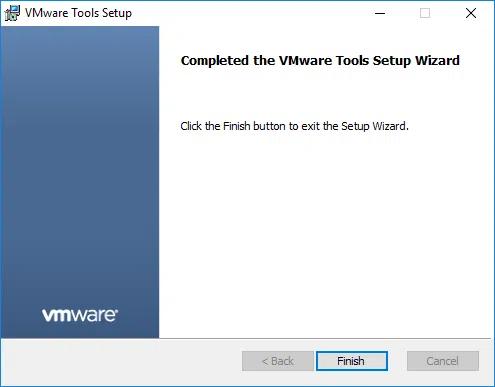
Finally, click Finish to finish the process.
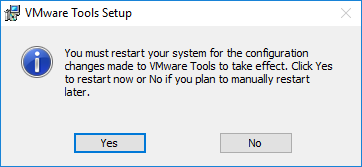
Since it is Windows, VMware Tools will need to restart the VM to complete the full installation of VMware Tools. Click Yes to continue.
That’s it!
After the VM restarts, the VMware Tools installation is complete.
For more information about installing VMware Tools on other operating systems like Linux, read more here.


Good morning,
I have never install vmware on server 2012.I need this because I would like to install TimeIPS clocking system virtual machine on my server 2012 which will be the host system.Do you have any idea how that will work?