In Windows 10, Microsoft now publishes the so-called feature updates of the operating system twice a year (spring and autumn). This means you will need to upgrade your computer to new build (such as Anniversary Update, Creators Update, Fall Creators Update, etc.) every time they are available through Windows Update.
However, you may experience a problem either during or after upgrading to the latest version of Windows 10. This may be due to a number of factors such as driver incompatibility, applications, etc.
Fortunately, you can go back to the previous build of Windows 10 that worked well. This way, you can wait until new updates are released from either Microsoft or the manufacturers (if they are drivers) or the software companies if you have problems with a specific application in order to upgrade your PC.
The process of returning to a previous version of Windows 10 can be done in two ways, depending on the problem you are experiencing. If you can boot to Windows, then you can follow the Option 1 outlined below. Otherwise, if you encounter a more serious problem and your computer does not boot into Windows, then follow the Option 2.
Note: The following action has to be done within the next 30 days of the upgrade day. You will also need to have not performed the Windows.old disk cleanup that is automatically created during the upgrade process.
Your files and apps will remain unaffected, but you should be sure to keep one (at least) backup of your most important files.
Let’s go see the step-by-step process.
Return to the previous version of Windows 10 – Option 1
In Option 1, we believe that you have access to Windows 10 as the process starts through your computer’s Settings.
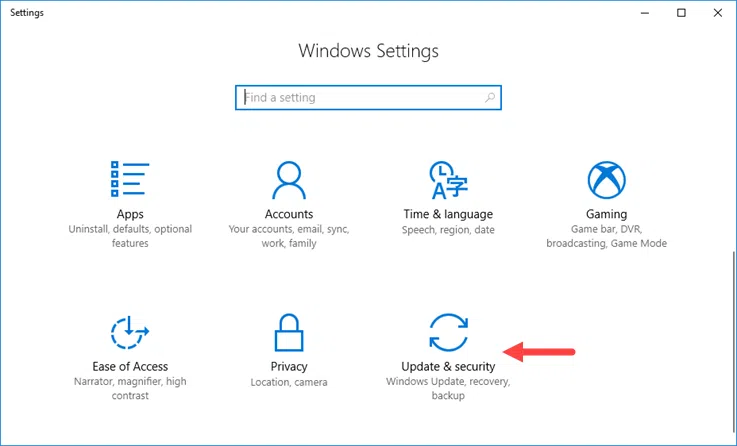
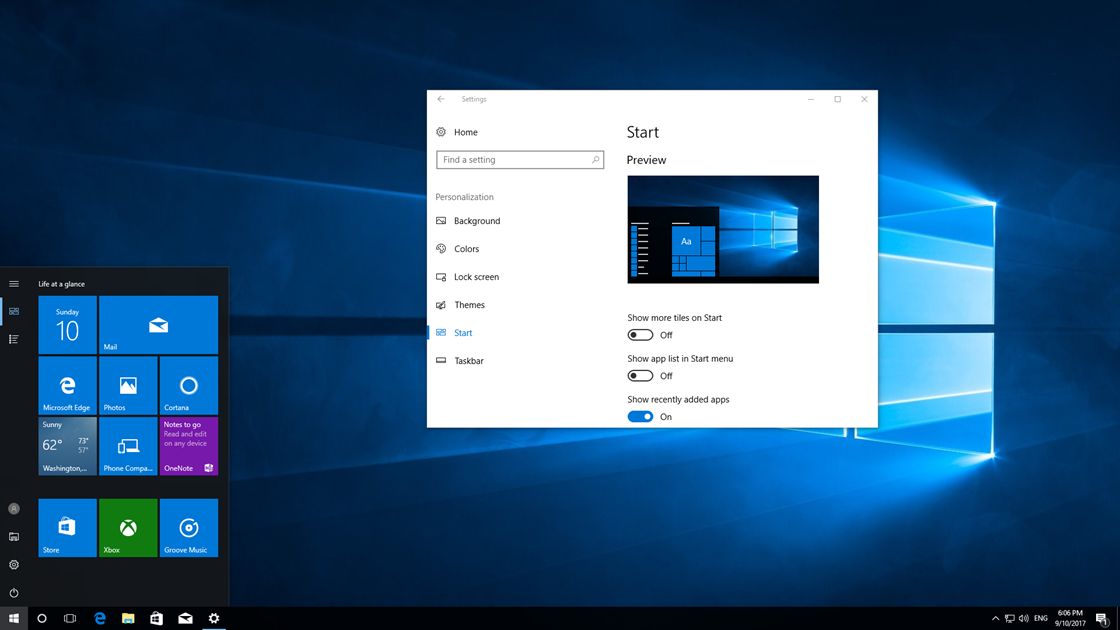
Open the Windows 10 Settings and go to the Update & Security category.
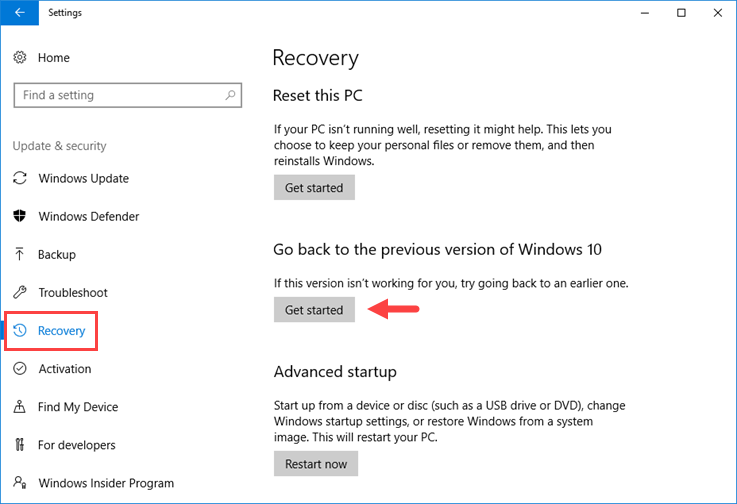
Then, go to the Recovery section. Here, click the Get started button located under the Go back to the previous version of Windows 10 section.
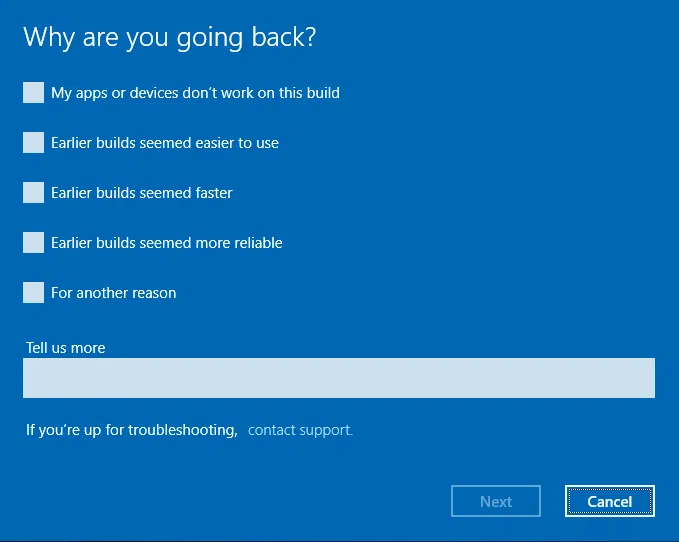
Select one of the available options to justify why you want to uninstall this version from your computer and click Next to continue.
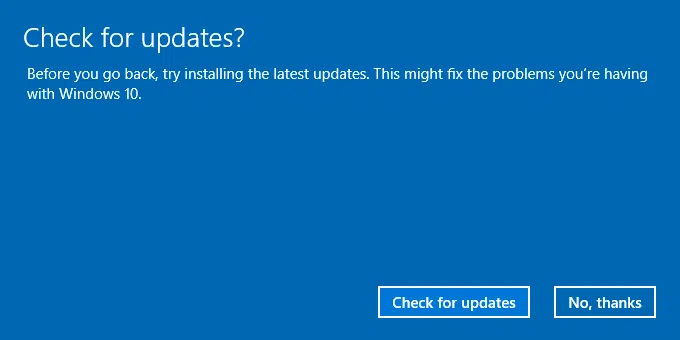
At this point, Windows 10 will ask you to perform a new check for updates so that any problems you encounter can be solved by installing them. Click No, thanks to continue.
An informational message lets you know what is about to be affected by returning to the previous version of Windows 10. Click Next to continue.

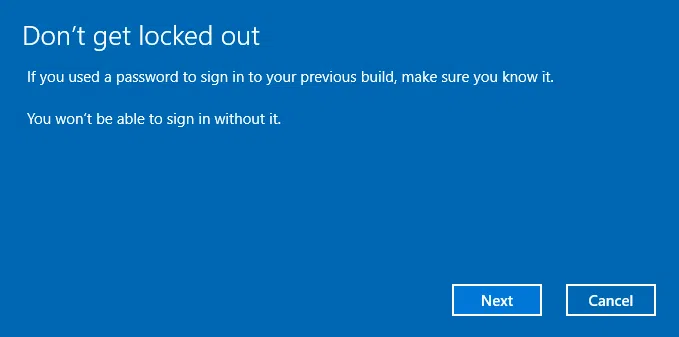
If you have set a password for your account, make sure you know it so you will not lose access after uninstalling the version. Click Next to continue.
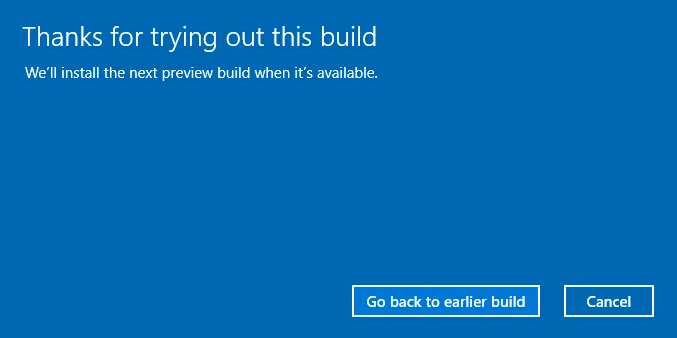
Finally, to complete this uninstallation wizard, click Go back to earlier build to continue.
You will then restart your computer and start the process back to the previous version of Windows 10.
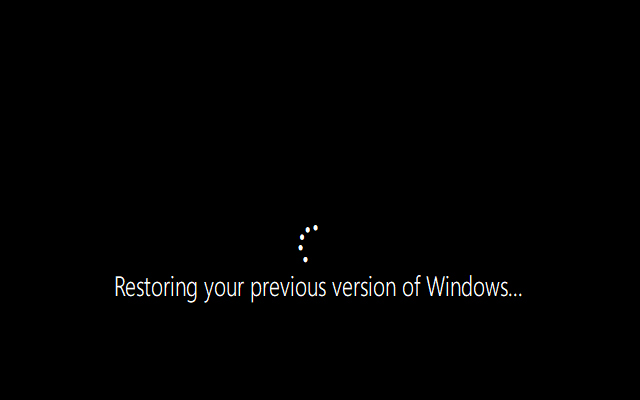
A few minutes after you see the sign-in screen it means you’ve returned to the previous version of Windows 10 and apparently in smooth operation as you were accustomed to.
Return to the previous version of Windows 10 – Option 2
In Option 2, we assume that your computer can not boot Windows 10 and so, after several unsuccessful reboots, you will automatically be moved to the advanced startup options.
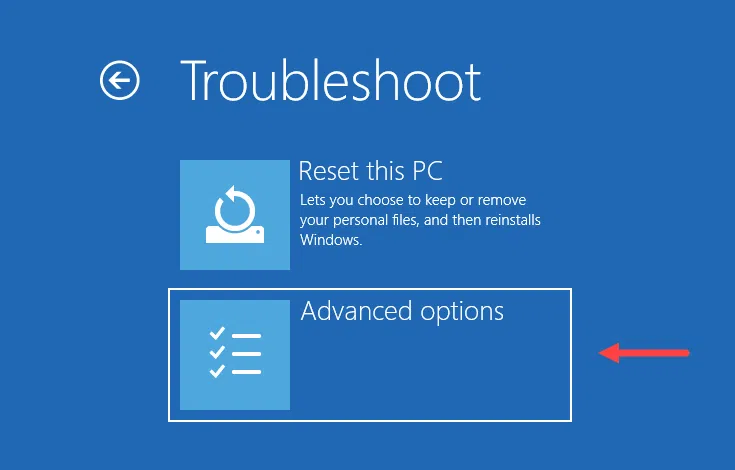
On the first tab, click Troubleshoot.

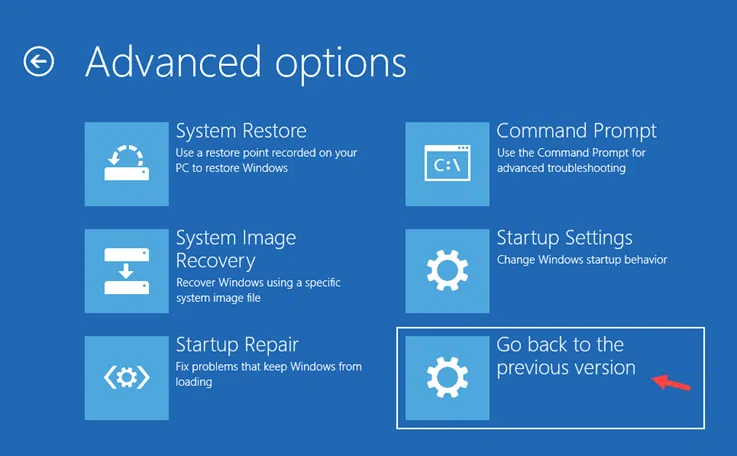
Then, click Advanced Options.
Then, click Go back to the previous version.
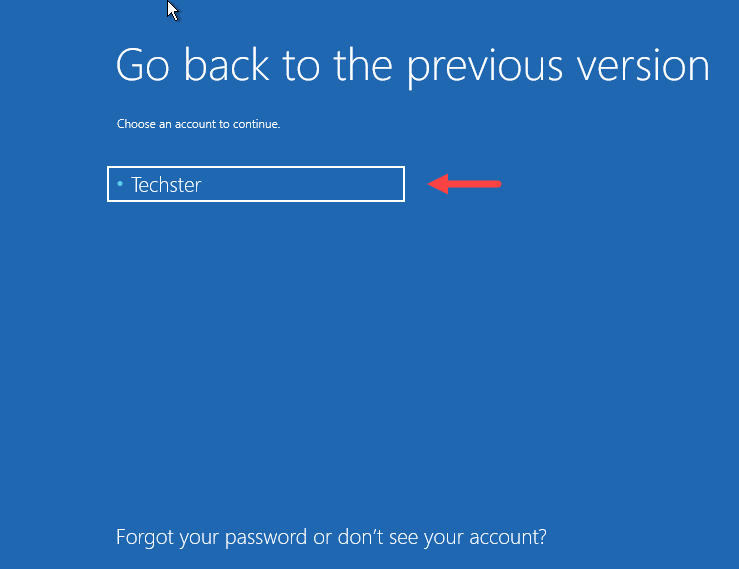
Select your user account to continue. If you have more than one account, then select an account with administrative rights.
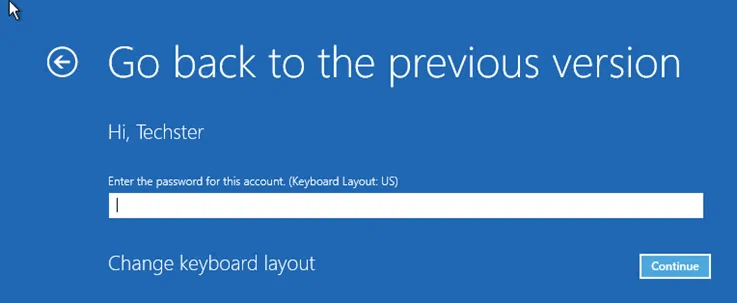
Enter the password for your account.
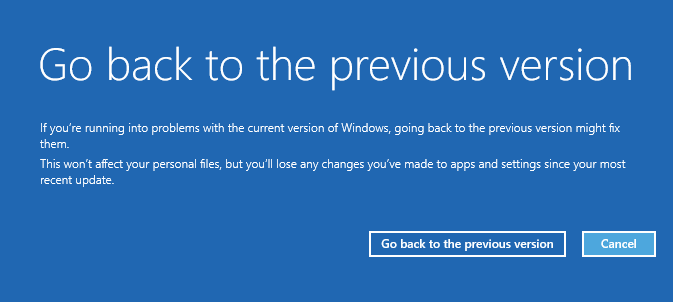
Finally, clicking on the Go Back to the previous version button will begin the process.
At this point, let your computer complete the process and after several minutes, you will then have installed the previous version of Windows 10.


Really easy and straightforward process. I just updated to the Fall Creators Update so I’m a bit at cautious at this point. Looking for any bugs that might arise or anything similar so that I can decide if I’ll have to go back to the previous version or not.
I am following option 2 and at the end I get this message. We ran into a problem and won’t be able to take you back to the previous version of Windows. Try resetting instead (Troubleshoot-> Reset this PC).
Its very frustrating.